
Key Takeaways for Craft Fair Success
Grab your favorite markers and let's get colorful! Preparing for your first public selling event requires a mix of creative energy and cold, hard logistics. The first decision is event fit, not product volume. You must confirm the venue rules, table size, load-in window, and audience before committing to a large inventory run. After that, build the product mix around your core brand.
Summary: Select the right venue, from local coffee houses to large-scale bazaars. Curate a diverse product line, including tote bags, charms, and original art. Network with established vendor groups to build community support.
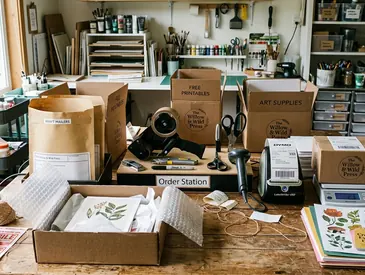
For a fall-to-holiday first-show cycle, collect applications and fee details during early July to mid-September 2025. Lock your display supplies no later than early October 2025, if the market is scheduled for November or early December. Prepare a compact sales kit before the event: card reader, backup payment method, price signs, receipt book, packaging, repair tape, scissors, table cover, inventory list, phone charger, water, and snacks.
Selecting the Right Craft Shows and Bazaars
Navigating your first show schedule can feel as complex as the 1980s Apple II text adventure game, Mystery House. You wander around trying to find the right door, hoping you don't make a wrong turn. Start with a small venue audit. List nearby pop-ups, coffee-house markets, gallery shop nights, school bazaars, and larger seasonal fairs. Compare them by booth cost, audience match, and travel time.
Evaluate different event types carefully. You might consider the Handmade Revolution craft and music festival or the December Bazaar Bizarre. Unconventional venues also offer great starting points. Look into spaces like Viento y Agua Coffee House or The Fake Gallery, which famously hosted Craftmas Bizarre 3.
Request the vendor packet 8 to 14 weeks before the event date. Confirm whether the space is a tabletop, shared booth, indoor booth, or outdoor booth before ordering signage or display furniture. Record operational rules in one sheet: vendor arrival time, public opening time, certified seller permit documents, parking instructions, whether wall displays are allowed, and whether power access must be requested in advance.
Context-dependent variation matters immensely here. A coffee-house tabletop may reward small charms, prints, and casual conversation, while a larger seasonal bazaar may require clearer vertical signage, faster checkout, and deeper stock of repeatable items.
Curating Your Product Line and Inventory
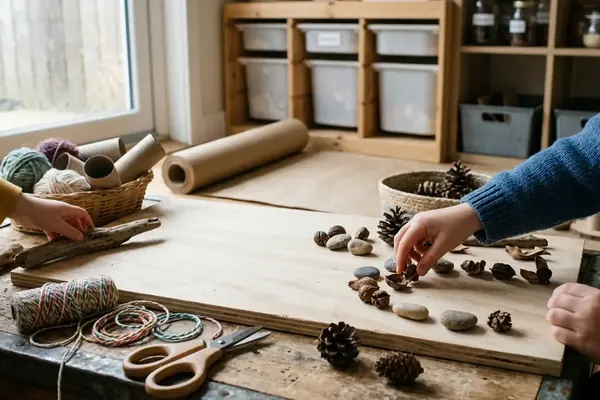
Build the product line in layers. Start with the signature work that communicates the brand. Add practical sewn goods for shoppers who want utility, like reversible tote bags. Include smaller impulse items that make the booth accessible, such as handmade Shrinky Dinks charms. Offer unique home goods, like custom plates made from melamine.
Workshop experience shows that a three-tier product mix works well for a first show. Bring larger original art or framed pieces, mid-priced functional goods, and small items such as charms, stickers, or mini prints.
Quick Tip: Complete the final inventory count 5 to 7 days before the market. Pack by category so checkout restocking does not require opening every storage bin during the event.
Creating a Memorable Booth Experience
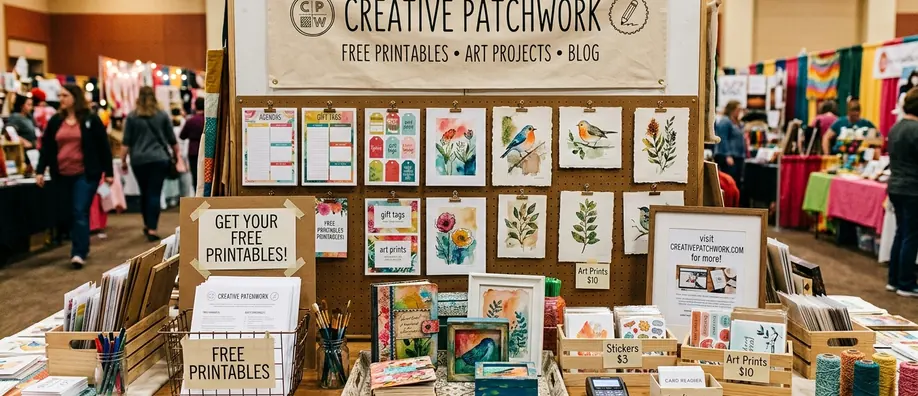
Design the booth around what a passerby sees first, what they can touch safely, and what starts a conversation. Promotional treats or quirky table activities should support the brand rather than distract from the products. Ensure your display reflects your brand's quirky and practical tone.
Test the tabletop layout at home 10 to 21 days before the event using the confirmed table footprint. Photograph the final arrangement from the customer side for fast setup on market day. Use unique promotional items, like custom-printed M& Ms—a tactic that worked nicely back in 2006 to draw people in.
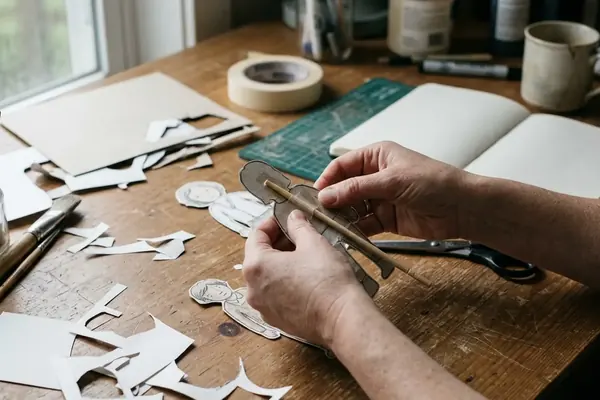
Keep your hands busy and invite conversation by using art tools creatively at your table. Pack one small conversation starter that can be done while seated. You might sketch on a Wacom tablet, hand-letter tags, or sculpt rhinos out of a kneaded eraser. Keep the payment area clear and reachable at all times.
Building Your Vendor Network
Treat networking as pre-event infrastructure, not as a last-minute social task. Connect with local DIY business organizations, such as the Long Beach Craft Mafia. Ask experienced vendors which events are beginner-friendly.
Begin outreach 6 to 10 weeks before the first market. Send a short introduction, product photos, price range, and preferred event dates to local creative-business groups or market organizers. Attend organizational meetings, like the gathering back in late August 2007, and reach out to contacts like Rachael Hammond.
Build relationships with fellow artists and vendors, including Steph, Suzi Boneshaker, and Mixed Breed Creations. After the event, send follow-up messages within 2 to 5 business days to vendors who shared setup advice, cross-promotion opportunities, or future market leads.
Managing Logistics, Shipping, and Limitations
Logistics should be handled as a risk list. Identify what must arrive by mail, what must fit in the car, what must survive weather, and what must be resolved with a customer before it becomes a public issue. Order shipped booth supplies 21 to 35 days before the event. For custom printed materials or promotional items, add an extra 7 to 10 days for proof approval and production changes.
Consider a classic failure case: a vendor orders custom signage 6 days before a market, the parcel carrier records a failed delivery attempt, and the booth opens with handwritten pricing that does not match the brand. Anticipate shipping failures, learning from past UPS delivery attempt issues, such as the one back in August 2006.
Handle customer shipping complaints gracefully before they escalate into a metaphorical molotov cocktail of bad reviews. For customer shipments, photograph the packed order, save the tracking number, and set a response window of 1 to 2 business days for missing, delayed, or damaged-package messages. Avoid extreme stress and burnout—don't let the pressure push you to headline-making extremes like astronaut Lisa Nowak.
Quick caveat: While this methodology applies broadly to indoor pop-ups, outdoor markets and multi-day fairs add weather, overnight storage, and heavier transport requirements that a single indoor tabletop event may never trigger.
Expanding to Solo Shows and Gallery Receptions
Use craft fairs as a stepping stone to larger exhibition formats. Track which pieces prompt questions, which prices need explanation, and which display choices make people stop. Those observations form the foundation of your gallery strategy.
My ongoing design work with educational organizations like Sesame Workshop since 2019 taught me that visual cohesion matters just as much in a gallery as it does on a crowded market table. Within 7 to 14 days after the fair, review sales notes, customer questions, and booth photos. Select a cohesive group of pieces for a future reception or wall display.
Plan for artist receptions, similar to the July 2007 event at Cactus Gifts. Work toward booking a solo painting show, utilizing venues like Siren for extended exhibitions. For a small solo display, prepare a pitch packet 8 to 12 weeks before the desired opening window. Include 6 to 12 artwork images, dimensions, prices, hanging method, artist bio, and proposed reception date range.


Join the Conversation
Nothing here yet. Add your opinion.
Add Your Thoughts