
Defining the Home Photography Setup
Grab your favorite markers and let's get colorful! Building a dedicated product photography setup eliminates the friction of shop updates. You want to create—not rebuild a temporary studio every time you finish a new batch of products. A product photography setup is a repeatable, controlled physical space dedicated to capturing consistent visual assets for a brand.
Achieving professional results relies on controlling light, standardizing backgrounds, following a shot checklist, and basic post-production. A workable tabletop footprint is roughly 60 by 90 centimeters, with an additional 60 to 120 centimeters between the camera and product for framing. Budget 45 to 90 minutes for the initial assembly and test shots.
A documented setup takes roughly 2 to 5 minutes to restore for later sessions. Consistency depends on four controls: light direction and color, background placement, a repeatable shot list, and the same editing sequence. Choose one small surface, mark the camera and product positions, and leave the reflector and backdrop supports within reach. Record a reference frame and the camera settings after the first successful shot.
Mastering Natural and Artificial Lighting
Start with the product 30 to 90 centimeters from a window and rotate it until the light reveals its form without producing a bright reflection toward the camera. If the shadow edge looks hard, hang a white sheer curtain as a diffuser. A sheer curtain does not automatically improve every frame. Direct sun can remain too contrasty if the curtain is thin, while a heavy curtain may reduce the light enough to cause blur during handheld shooting.
Use a white foam core board around A3 size or larger, positioned 15 to 45 centimeters from a mug-sized object. Moving it closer increases the reflected fill.

Artificial continuous LED lighting serves as a reliable alternative. Natural light keeps costs low while restricting your available shooting hours. Test natural light over a 20 to 40 minute window before photographing the full catalog because passing clouds can change exposure and shadow contrast between products. Artificial light offers flexibility and requires careful color temperature matching. Use continuous LEDs with a color rendering index of at least 90 and set every fixture to the same color temperature, commonly 5000 to 5600 kelvin for a daylight-style setup.
Highly reflective jewelry, glossy glaze, and glass often show the window or LED panel itself. These products require a larger diffusion surface or a light tent to manage the reflections.
Selecting Backgrounds and Props for Brand Consistency
Choose backgrounds that align with the brand's aesthetic, such as seamless paper, vinyl backdrops, or natural wood surfaces. Select one primary background from the existing brand palette, photograph a representative light product and dark product on it, and check whether both edges remain distinct. Cut or purchase secondary backgrounds for seasonal variations.
A backdrop at least twice the product's visible width leaves room for cropping and prevents its outer edges from entering the frame. Create a seamless sweep by curving paper or vinyl upward to avoid a hard crease. Begin the curve 15 to 30 centimeters behind a small product to avoid a visible horizon line.
Limit a small-product composition to one or two supporting props. Keep them behind or beside the product so they do not cover handles, labels, clasps, or other buying details. When photographing licensed merchandise for partners like Sesame Workshop: educational organization, strict visual consistency across the catalog is mandatory. Keep the setup modular so backgrounds can be swapped easily while maintaining the same lighting environment. Allow 3 to 7 minutes to swap a clipped backdrop, remove dust, and make a fresh exposure check while leaving the lighting geometry unchanged.
Backdrop and reflector distances change with product size and surface finish. A setup that gives soft, attractive light on a matte clay mug can produce a large rectangular reflection on glossy jewelry or glass.
The Essential Shot Checklist for E-Commerce
Photograph by setup to maintain momentum. Capture the clean hero, front, back, side, and detail views while the product and lights are fixed. Add a ruler, hand, or familiar object for scale.
The minimum listing set is a clean hero image, an in-use lifestyle image, a close detail, a scale reference, and a packaging image. Add front, back, and side views when those surfaces contain functional information. Capture a high-resolution master with enough surrounding space for 1:1 square, 4:5 vertical, and approximately 3:1 horizontal crops. This adapts compositions for different platforms, including Etsy listings, Instagram posts, and horizontal shop banners. Reviewing the official guidelines for product photography helps align these ratios with marketplace standards.
For a catalog of 8 to 12 small products, reserve 90 to 180 minutes for photography after the set is assembled. Group identical angles across products to reduce camera and prop changes. Review sharpness at full magnification after the first product and again every 20 to 30 minutes, especially when using autofocus or a lightweight tripod.
Pre-Shoot Prep Steps
- Clean the product, backdrop, camera lens, and reflective props.
- Match all artificial lights to one color-temperature setting.
- Diffuse the main light and place the foam core reflector.
- Set the camera or phone to a fixed exposure and white balance.
Post-Production: Editing Basics and File Management
Import the full session into a dated product folder, choose one correctly exposed reference image, and correct white balance before changing brightness or contrast. Apply that baseline to images made under the same lighting.
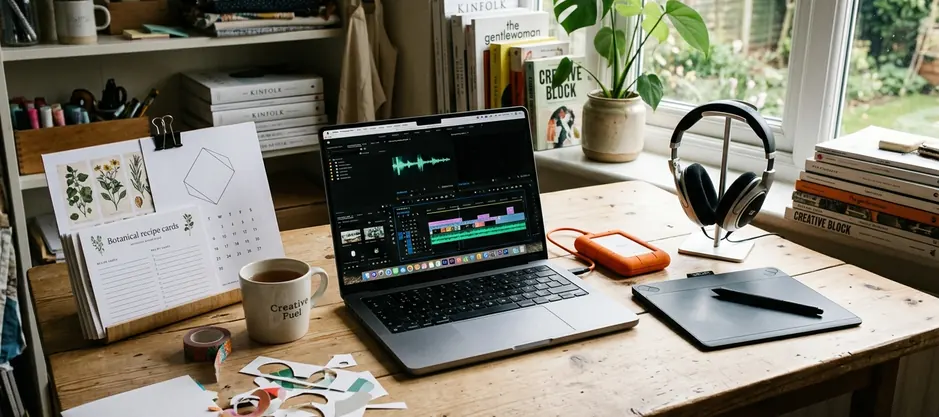
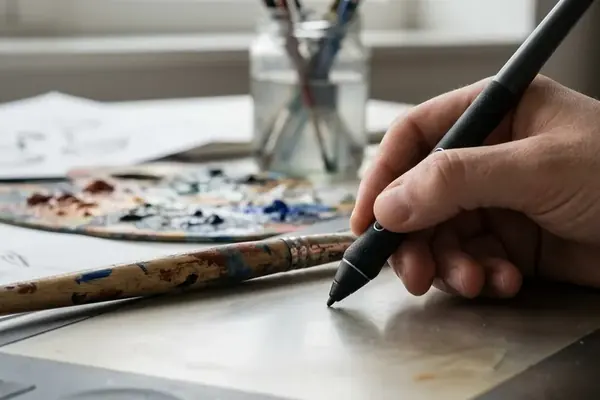
Edit in this order: white balance, exposure, highlight and shadow recovery, straightening, crop, dust cleanup, and output sharpening. Using a Wacom tablet speeds up the dust cleanup and spot healing process significantly compared to a standard mouse.
Use filenames that describe the visible product and view, such as blue-ceramic-coffee-mug-detail.jpg. Descriptive names improve internal organization and accessibility workflows. A practical folder path is photos/2026-09-autumn-launch/blue-mug/ with subfolders named masters, selects, listing-crops, and archive. Reserve 3 to 8 minutes per selected image for basic correction and export, plus 10 to 20 minutes at the end of the session for naming, folder checks, and a second storage copy.
The Setup in Action
A ceramicist clips a matte vinyl sweep to the tabletop beside a north-facing window, places a glaze-fired mug on the position mark, and turns the handle slightly toward the camera. The mug sits approximately 45 centimeters from the diffused window, with the reflector 20 to 30 centimeters from its shaded side. After checking the exposure, they capture the clean hero shot.
A five-image core set can be captured in 12 to 25 minutes once the surface is clean, the tripod is positioned, and exposure is confirmed. Before dismantling the set, the ceramicist checks the handle edge, glaze highlights, rim focus, base, and packaging frame at full magnification. The camera clicks off, the reflector folds away, and the shop update is ready to launch.



Join the Conversation
Nothing here yet. Add your opinion.
Add Your Thoughts