
In this Article
- Executive Summary: Screen Printing Essentials
- From Hobby to Hustle: Why Screen Print at Home?
- Building Your DIY Print Shop: Essential Gear
- The Screen Burning Process Demystified
- Mastering the Squeegee: Ink Application Techniques
- Curing the Ink and Post-Print Cleanup
- Common Beginner Mistakes and Limitations
Executive Summary: Screen Printing Essentials
I always tell my illustration students to start by making the workflow concrete. Pick a single-color design, burn exactly one screen, pull a few test prints, and run a wash-test before you even think about a production batch. You can fit a highly capable beginner setup on a sturdy table roughly 24 by 36 inches, provided you carve out a separate light-safe drying area for coated screens.
For general cotton T-shirt graphics, a 110 to 160 mesh screen is a proven starting range. Finer lettering and thin illustration lines usually need higher mesh counts and more careful exposure testing.
Summary: Plan your first successful print session across 2 to 4 work periods. You will coat and dry the screen, expose and wash out the stencil, test print, and finally cure and clean up.
From Hobby to Hustle: Why Screen Print at Home?
Before my ongoing vector consulting with educational organizations like Sesame Workshop, moving from a digital canvas to a physical product changed how I thought about design. When I finish an illustration on my Wacom tablet, the file is just data. Screen printing forces a translation into the physical world.
You must convert digital artwork to solid black stencil art before exposure. Gray shading needs halftones, not ordinary semi-transparent gray shapes. A first home batch is far more manageable at 6 to 24 garments than at wholesale scale because every single shirt still requires manual alignment, pulling, curing, and inspection.
The creative freedom of producing your own apparel is unmatched—especially when you drop the burden of minimum order quantities. Artist Steph Calvert used these exact home-based techniques to build the Hearts and Laserbeams brand, which led to a feature in Martha Stewart in November 2007, though my own methodology relies on slightly tighter mesh tensions for vector work.
Building Your DIY Print Shop: Essential Gear
Beginners usually hit the same three failure points. Weak film positives cause muddy exposures. Uneven emulsion causes broken stencils. Soft squeegees leave fuzzy edges. I build my gear list specifically to solve these constraints.
A 70-durometer squeegee is a common all-purpose choice for T-shirts because it shears ink through the mesh without folding over under normal hand pressure.
Quick Tip: Choose a squeegee at least 1 to 2 inches wider than the printed image so the blade clears both edges of the stencil in one pass.
Diazo-sensitized emulsions often have a shorter usable window after mixing than pre-sensitized emulsions. Workshop experience shows that labeling the container with the mix date and rechecking performance after 4 to 8 weeks of refrigerated storage prevents mysterious exposure failures down the line.
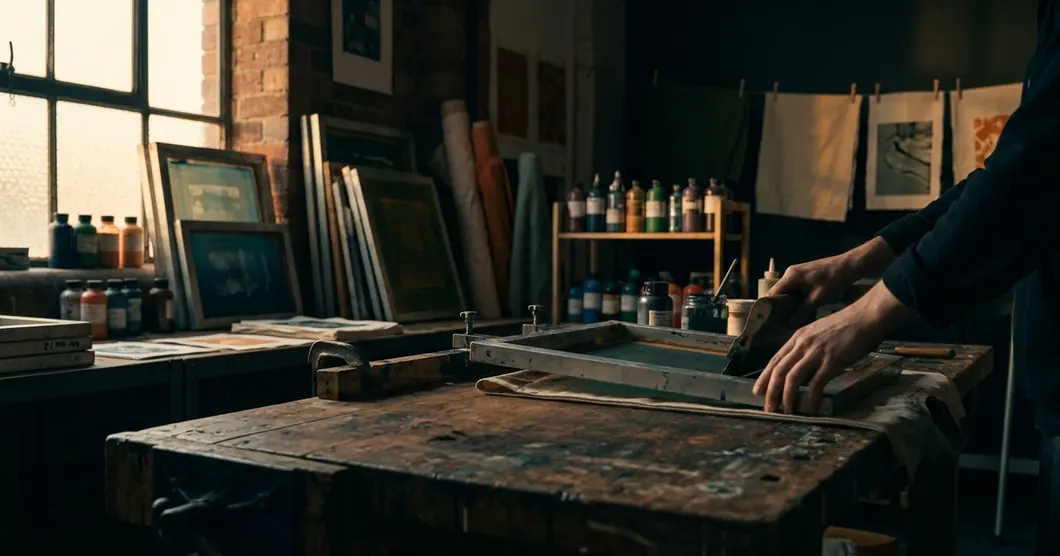
The Screen Burning Process Demystified
Treat the optimal exposure decision as a careful test, not a guess. Coat the screen with 1 to 2 thin, even coats of photo emulsion using a scoop coater. Heavy drips on the print side usually produce soft or slow-washing stencil edges. Dry the coated screen horizontally, print side down, in a dark or light-safe area for 4 to 12 hours depending on humidity, airflow, and coating thickness. A screen that exposes cleanly in a dry room may wash out poorly after a humid overnight dry because damp emulsion changes exposure behavior.
For a basic photoflood-bulb exposure test, run stepped intervals in 30-second increments across a 3 to 10 minute range, keeping bulb distance fixed during the entire test.
During washout, wet both sides first. Wait 30 to 90 seconds for the unexposed emulsion to soften, then clear the image with controlled water pressure rather than blasting the mesh immediately. Inspect the dry screen against light for pinholes and block them out before printing. Many blockout fluids need a 15 to 30 minute dry window before ink contact.
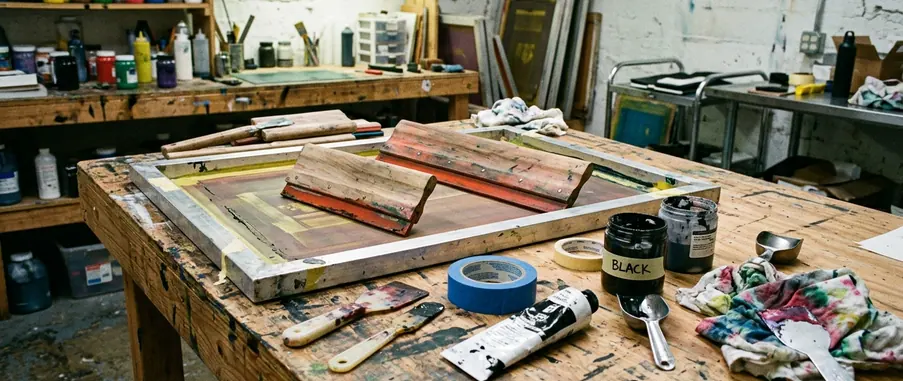
Mastering the Squeegee: Ink Application Techniques
The squeegee pass is a controlled sequence of physical movements. You flood the stencil to fill the mesh, place the shirt, hold the blade consistently, pull or push with firm pressure, then lift and inspect the print. A 45-degree squeegee angle is a useful starting point. Holding it too upright can scrape ink away, while laying it too flat can drive excess ink under the stencil. Set slight off-contact between the screen and shirt, commonly around 1/16 to 1/8 inch, so the mesh snaps up after the squeegee passes.
Tackling white plastisol on a black tee requires the print-flash-print method. Print the first white layer, flash until the surface is dry to the touch but not scorched, then print the second layer through the same screen. Flash timing is equipment-dependent, but home flash intervals often fall in the 6 to 20 second range. Judge readiness by surface tack and temperature rather than by timer alone.
A hot pink ink that looks electric on white cotton can print dull and semi-transparent on a black tee unless a white underbase is printed first. Fluorescent-style inks carry a transparent pigment load, demanding an underbase or a discharge-compatible system for a bright result.
Curing the Ink and Post-Print Cleanup
Many plastisol inks require the entire ink film to reach roughly 320°F for 60 to 90 seconds, but you must treat the ink manufacturer’s technical sheet as the controlling source. Many water-based textile inks cure in the 300°F to 320°F range for 2 to 3 minutes, with longer dwell times needed when using a household iron or uneven heat source.
Use a certified contact thermometer, infrared thermometer, or temperature strips to check the ink surface. Air temperature near the shirt is not the same as ink-film temperature.
Note: A print that feels dry after heat pressing can still crack or wash out if the ink film never reached its required cure temperature.
Wait 24 to 48 hours after curing before doing a wash test if the ink system recommends post-cure settling or crosslinking time. Begin ink cleanup within 5 to 15 minutes after the final print pull, especially with water-based ink, which can dry into the mesh and permanently block detail. Always review guidelines for safe handling of photo emulsion and printmaking chemicals to ensure proper disposal.
Common Beginner Mistakes and Limitations
Troubleshooting should follow the strict order of the process. First check the artwork and film opacity, then emulsion coating, then drying conditions, then exposure, then washout pressure.
Blown-out fine detail usually points to overexposure, weak film opacity, or a film positive that was not held tightly against the emulsion during exposure. Slimy emulsion that washes away outside the design usually points to underexposure, incomplete drying, or light-source inconsistency. Random pinholes often come from dust, bubbles in the emulsion coat, mesh contamination, or drying the screen in a space with lint and pet hair.
Transparent colors on dark garments should be tested on the actual shirt color before production. This home method is best suited to simple one- or two-color cotton apparel, posters, totes, and small runs. Tight multi-color registration, simulated process color, and large commercial batches need more controlled equipment.


Join the Conversation
Nothing here yet. Add your opinion.
Add Your Thoughts