
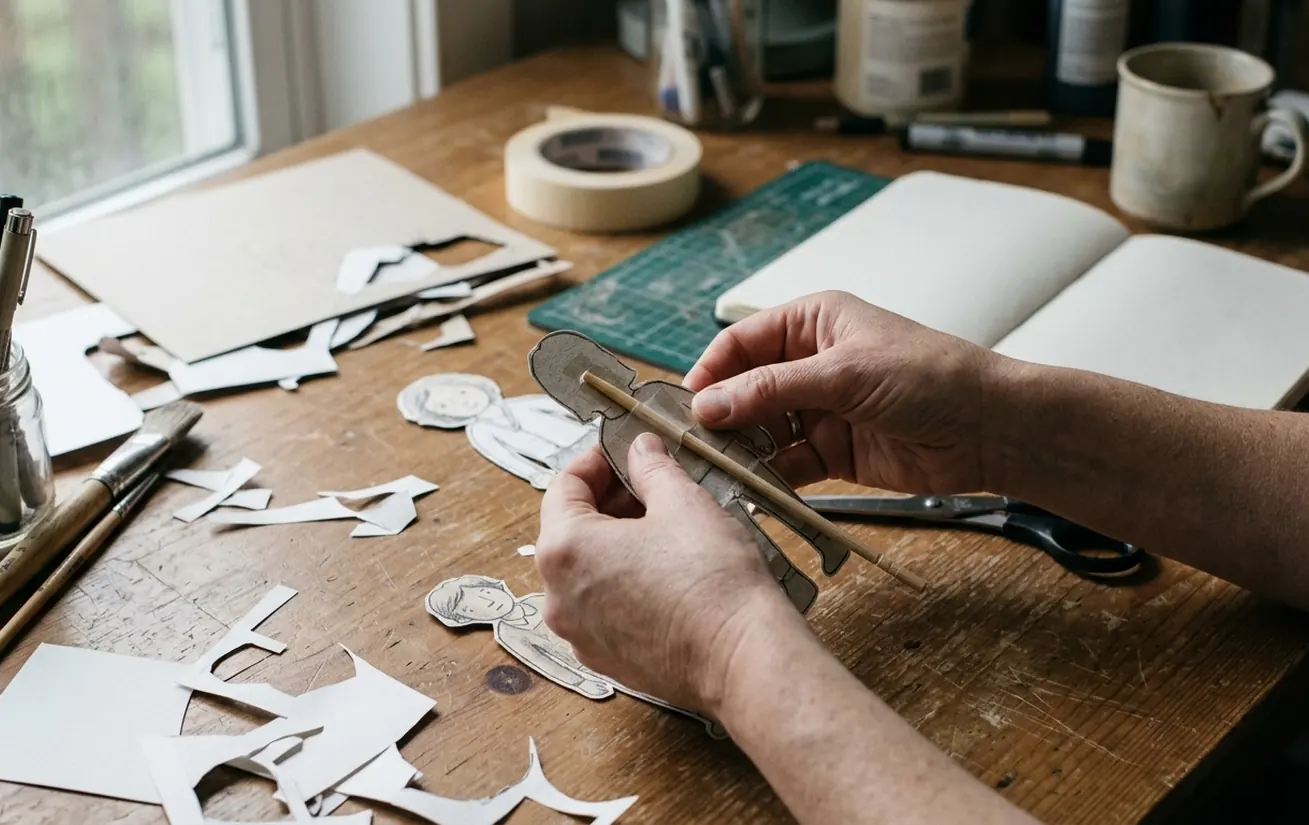
Printable paper puppets sit in that sweet little craft zone where a single sheet of paper can turn into a dragon, a moon chef, a grumpy rabbit, or a very dramatic taco. You do not need a sewing basket, a foam cutter, or a glitter-powered supply closet. You need a printed character, a few coloring tools, and a plan for making the arms and legs move.
If the template was drawn on a Wacom tablet, wonderful. If it was sketched with a pencil and scanned at the kitchen table, also wonderful. The magic happens when a flat character starts acting like it has opinions.
In this Article
- What Is a Printable Paper Puppet?
- Gathering Your Zero-Fancy Crafting Supplies
- The Step-by-Step Assembly Process
- Engineering the Movement: Fastening Options
- Turning Puppet Play Into Creative Writing Practice
- Step-by-Step Case Study: Building the Cardboard Box Theater
What Is a Printable Paper Puppet?
Summary: A printable paper puppet is a flat, two-dimensional character template designed to be printed, colored, cut out, and articulated at the joints for imaginative play.
Think of it as a paper doll with stage ambitions.
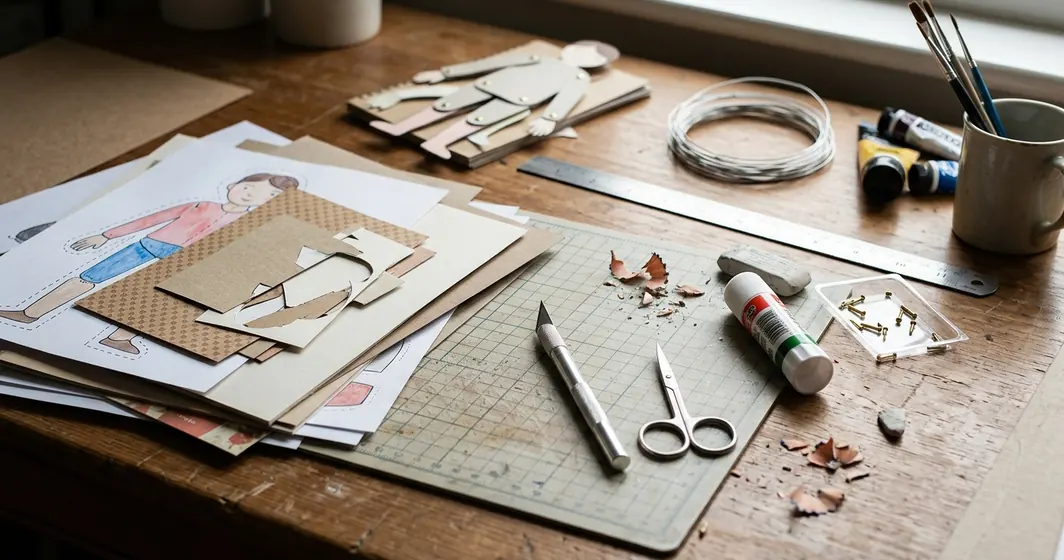
The finished object is not a sock puppet, a sewn plush, or a molded toy. It usually starts as a downloadable template that fits on U.S. Letter paper measuring 8.5 x 11 inches or A4 paper measuring 210 x 297 mm. The sheet holds the body, limbs, and sometimes accessories like hats, wings, tails, or tiny boots that absolutely deserve their own applause.
The short version is simple: downloadable templates require only paper, scissors, and coloring tools. Once assembled, the same craft also nudges fine motor practice because kids color, cut, align, fasten, and manipulate small pieces. Then the puppet becomes a storytelling tool instead of another paper project headed for the fridge door.
What the finished puppet can do
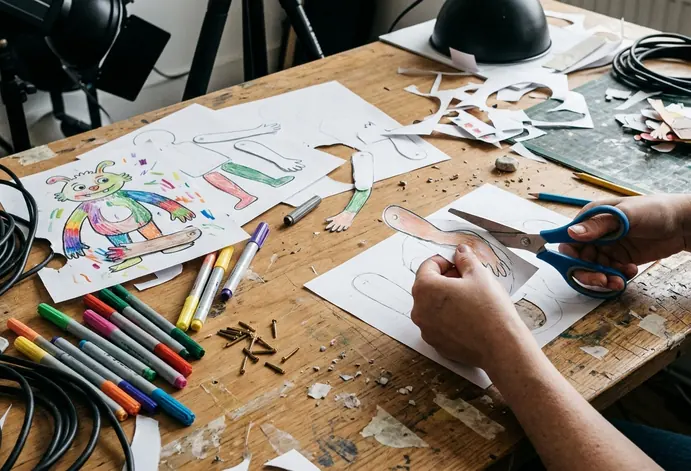
A basic puppet can wave, dance, stomp, fly, or flop dramatically onto the stage after a pretend banana-peel disaster. The movement depends on how you fasten the joints. Arms and legs can rotate with brass brads, dangle with yarn, or stay still with glue or tape for younger children.
For a first child-and-adult session, plan roughly a half hour to forty-five minutes from printing through the first tiny performance. That is enough time to print, decorate, cut, assemble, name the character, and hear at least one plot twist involving snacks.
Gathering Your Zero-Fancy Crafting Supplies
The supply question usually sounds like this: “Can we start with what is already in the drawer?” Yes. Start there.
Standard printer paper works for a quiet storytelling session. It is commonly 20 lb copy paper, which prints cleanly but bends quickly at arms, legs, and neck tabs. If the puppet will survive stage play, classroom handling, or craft-stick operation, 65 lb cardstock holds up better because it supports brad holes and tape more reliably.
The essential pile
- One printed puppet template sheet
- Crayons, colored pencils, or washable markers
- Basic scissors
- Safety scissors if children are helping with cutting
- One fastening method for each movable joint
Crayons and colored pencils give the most forgiving start because they do not soak the paper. Washable markers look bold and cheerful, but heavy marker areas need a short drying pause before cutting. That tiny wait saves wrists, ears, tails, and hair points from turning into smudgy confetti.
Quick Tip: Put the supplies in the order they will be used: template, coloring tools, scissors, hole punch, fasteners. It turns the table into a little assembly line and cuts down on the “Where did the brads go?” scavenger hunt.
Printable Paper Puppet Session Checklist
- Print template at actual size or 100% scale.
- Set out crayons, colored pencils, or washable markers.
- Color the full sheet before cutting.
- Cut around the puppet pieces, leaving a 2 to 4 mm border on difficult details.
- Punch joint holes after cutting.
- Choose brads for rotating joints, yarn for floppy joints, or glue/tape for static toddler-safe poses.
Supply setup generally takes five to ten minutes when the template is already downloaded and the printer is ready. That means this can be a real after-school craft, not a heroic weekend production. We are building paper characters, not a Sesame Workshop: educational organization soundstage.
The Step-by-Step Assembly Process
Assembly works best when the fragile handling comes last. Color first, cut second, punch third, fasten fourth. That order protects the thin details and keeps the character looking crisp enough to survive its debut performance.
1. Print at actual size
Print the puppet template at actual size or 100% scale. This matters because the joint markers need to line up with the intended limb positions. If the printer shrinks the page, the holes can slide into awkward places, and suddenly the brave knight’s elbow bends like a pool noodle.
2. Color before cutting
Always color the puppet while it is still one full sheet. Broad crayon strokes and marker lines are much easier before the arms and legs become separate delicate pieces.
If a child uses washable markers heavily, let those areas dry for a couple of minutes before cutting. This is one of those unglamorous craft pauses that saves the whole project. Wet ink can smear and weaken thin details such as wrists, ears, tails, and hair points.
3. Cut the solid outer lines
Cut along the designated solid outer lines. For tiny fingers, hair points, costume trim, or other fussy shapes, leave a 2 to 4 mm white border rather than chasing every curve. The puppet will still read as the same character, and the cutting stage will feel less like a tiny paper obstacle course.
Children can cut larger body pieces while an adult handles tighter details. That split keeps kids involved without asking safety scissors to perform impossible ballet.
4. Punch the joint holes
Punch holes at the marked joint intersections after the pieces are cut. A standard single-hole punch makes a hole close to 6 mm across, which fits most classroom-style brass paper fasteners. If the hole punch cannot reach a shoulder or hip marker, an adult can use the tip of a craft knife on a safe cutting surface.
Keep the punched holes centered on the printed dots as much as you can. Clean alignment gives the puppet smoother movement later.
Engineering the Movement: Fastening Options
The fastening choice sets the personality of the puppet. Brads make limbs rotate. Yarn makes pieces dangle. Glue and tape keep everything still but sturdy.
Option 1: Brass brads for 360-degree articulation
Brass brads, also called paper fasteners, offer the cleanest 360-degree articulation for arms and legs. For each moving limb, place the top limb layer over the body layer, align the punched holes, insert the brad from the front, and flatten the two prongs on the back.
Do not crush the brad completely flat. Leave a tiny gap so the limb can swing. An overtightened fastener turns a dancing puppet into a cardboard traffic sign.
A brad-connected puppet can usually be assembled in ten to twenty minutes after coloring and cutting are complete. That makes brads a great choice for a table full of school-age kids who want movement without waiting all afternoon.
Note: Brass brads are small parts and are not appropriate for children under 3. For that age range, make a static puppet with a glue stick or tightly rolled tape, and keep cutting and assembly adult-led. While brads provide the best movement, toddler safety wins the casting call.
Option 2: Heavy yarn for floppy charm
Threading heavy yarn through the joints and knotting both ends creates a loose, floppy movement style. It feels more handmade and a little sillier, which can be perfect for monsters, jellyfish, birds, or any character who should wobble into the scene.
Yarn joints need two aligned holes at each joint plus a knot on both sides. For a four-limb puppet, that adds roughly five to eight minutes compared with brads. The trade-off is charm: yarn makes the puppet less precise, but it gives every movement a bouncy shrug.
Option 3: Glue or rolled tape for static poses
Glue sticks and tightly rolled tape work when movement is not the goal. They are especially useful for younger children, wall displays, party decorations, or character cards that need to stand flat. You can still angle the arms and legs before attaching them, so the puppet can freeze in a wave, jump, bow, or heroic “I found the missing cookie” stance.
Turning Puppet Play Into Creative Writing Practice
Once the puppet is assembled, the activity changes shape. The craft becomes a character prompt.
This is where paper puppets quietly earn their keep. A child who stares at a blank page may have plenty to say when holding a purple fox with one boot and a suspiciously fancy hat. The visible character gives writing a place to start.
Start with quick identity prompts
Use a short prompt sequence that moves from easy facts to story fuel:
- What is the puppet’s name?
- Where does it live?
- What is its favorite food?
- What secret is it keeping?
- What problem does it need to solve?
- Who helps it?
- How does the story end?
A quick oral storytelling round can run roughly 5 to 12 minutes per child using one puppet and three prompt questions. For writing practice, ask younger writers for 3 to 6 sentences. Older children can write one short scene of around 150 to 300 words.
Make the problem concrete
“Write a story about your puppet” can feel too wide open. “Your puppet lost the key to the moon bakery” gives the child something to chase. The problem does not need to be grand; it needs to be specific enough to spark action.
Try this tiny setup: a paper raccoon named Pickle wants to enter the forest talent show, but its tap shoes are stuck in a tree. Now the puppet has a goal, an obstacle, and an excuse to wiggle both legs onstage.
NAEYC’s play resources connect open-ended play with the developmental benefits of imaginative play. For this craft, keep that idea practical: the puppet gives children something to manipulate while they invent names, motives, problems, helpers, and endings.
Summary: Pairing the physical puppet with a simple story prompt turns a craft session into character work without making it feel like a worksheet.
Step-by-Step Case Study: Building the Cardboard Box Theater
The cardboard box theater turns the puppet from a hand-held craft into a performance object. It also gives the story a frame, which helps children focus. Once there is a stage, somebody usually wants to know who enters first and what goes wrong.
Use a medium shipping box around 12 to 16 inches wide. That size gives enough front space for two small puppets without forcing a child to reach too far. Cut a rectangular viewing window in one broad side or bottom flap, leaving a border of about 1.5 to 2 inches so the box does not collapse.
Build the stage in order
- Place the box on its side with the future stage facing you.
- Draw a large rectangle for the viewing window.
- Cut the window out, keeping a sturdy border all the way around.
- Drape a small hand towel over the top edge to act as a stage curtain.
- Set a phone flashlight or small desk lamp behind or beside the box for dramatic lighting.
- Keep the light from touching paper, fabric, or cardboard.
The curtain does not need sewing. A hand towel works because it has weight, texture, and just enough theatrical nonsense. Slide it open with great seriousness. Close it after a cliffhanger. Demand applause from the couch.
Add a craft-stick handle
Tape one wooden craft stick vertically to the puppet back. Use two horizontal strips of tape: one near the shoulder area and one near the lower body. The stick lets the child move the puppet from below the theater window, which keeps little hands out of the scene and makes the character feel more alive.
Building the box theater usually takes somewhere around 20 to 35 minutes, excluding puppet coloring time. The whole setup can stay simple: one box, one towel, one light, one puppet, one problem to solve.
A copy-this case: The Moon Bakery Cat
Here is the worked version I’d run at the kitchen table: print one cat puppet on 65 lb cardstock at full scale, then color it gray with yellow boots and a blue apron. Let any heavy marker patches dry for a couple of minutes. Cut around the pieces, leaving a narrow white border around the whiskers and tail curl. Punch the shoulders and hips with a single-hole punch, attach the arms and legs with brass brads, and leave each brad just loose enough for a swing.
- Name the puppet: Crumble the Moon Bakery Cat.
- Give it a favorite food: cinnamon star cookies.
- Give it one problem: the bakery sign fell into a crater five minutes before opening.
- Build the stage from a 12- to 16-inch shipping box and cut the front window with a border of about 1.5 to 2 inches.
- Drape a hand towel over the top as the curtain.
- Tape a craft stick to Crumble’s back with two horizontal strips of tape.
- Place a phone flashlight behind the box, away from the towel and cardboard.
- Open the curtain and perform three lines: “My sign is gone!” “The cookie customers are coming!” “I will climb the sprinkle ladder and fix it before moonrise!”











Join the Conversation
Nothing here yet. Add your opinion.
Add Your Thoughts