
Why a Locked Single-Tab Order Form Beats a Full Wholesale Portal
Make a locked, single-tab spreadsheet the default reorder tool for a compact greeting-card and art-print range. It puts product selection, order quantities, and merchandise totals in a single view without forcing a boutique owner through another account login. You set down the Wacom tablet after finishing a collection, build one protected worksheet, and hand buyers a frictionless grid that beats a heavy B2B portal or a multi-page interactive PDF for straightforward studio catalogs.
Busy gift shop buyers already juggle dozens of vendor logins between floor shifts. When a stockist wants to restock birthday cards and wall prints, resetting a forgotten portal password or flipping through about twenty pages of an interactive PDF adds pure friction. A single sheet lets the buyer identify items by SKU, type unit quantities, watch the merchandise total calculate live, and email the saved file back without creating a wholesale account.
Five structural mechanics keep a single-tab order form from turning into spreadsheet chaos:
- Structured SKUs: Human-readable product codes that tie every design, dimension, and substrate to a fixed row.
- Enforced case-pack minimums: Data-validation rules that block broken packs before the file ever leaves the buyer's desk.
- Locked auto-calculating total cells: Worksheet protection that secures wholesale pricing and formulas while leaving quantity cells open.
- Crystal-clear payment terms at the top: An above-the-fold header in rows 1 through 11 capturing tax documentation, dispatch windows, and billing rules before product rows begin at row 13.
- A brutal pre-send test run: A step-by-step buyer simulation to verify that cell locks and rejection alerts hold up under real typing.
This single-sheet layout serves studios with a compact catalog; once an operation requires live inventory syncing or account-specific pricing tiers across hundreds of stockists, a dedicated wholesale portal becomes necessary.
Structuring Product Codes for Prints, Cards, and Stickers
Assign each sellable design, size, and material combination its own stable SKU before entering a single price on row 13. A clear code structure prevents packing-bench mix-ups when an illustration exists as both a folded card and a framed print.
Build your codes from consistent, hyphenated segments and record each segment's meaning in a short internal SKU key:
GC-014for a greeting-card design.AP-810-003for an 8 × 10-inch art-print design.ST-VNL-022for a vinyl-sticker design.
Once a design retires from your collection, retire its code alongside it. Retain retired SKUs in your studio's master product register rather than recycling them for newer illustrations, so historical reorders and archival invoices always point to the exact original item.
Column Layout and Freeze Panes
Arrange row 12 with your column headings so the sheet mirrors the exact sequence needed to pick and pack an order. Dedicate columns A through H to specific data points:
- Column A: SKU
- Column B: Product Title
- Column C: Dimensions / Materials
- Column D: Wholesale Unit Price
- Column E: Suggested Retail Price (SRP)
- Column F: Case Pack
- Column G: Order Quantity — Units
- Column H: Line Subtotal
Freeze rows 1 through 12 and columns A through E. That lock keeps the store's header block, column labels, SKU, title, dimensions, and pricing pinned on screen while a buyer scrolls down through your catalog to enter unit quantities.
Why Lookbook Links Beat Embedded Thumbnails
Keep product photography completely out of the spreadsheet cells. Embedded images balloon file weight until email servers bounce the attachment. Floating thumbnails drift across rows whenever a buyer resizes a window, and in-cell images tie product visibility directly to awkward row heights.
Place a direct URL to a clean PDF or web lookbook inside the top header block instead. Label every entry in that lookbook with its matching SKU and page reference so a buyer can browse full-resolution visuals on one screen and punch codes into your compact grid on the other.
Setting Case Pack Minimums and Locking Your Formula Cells
A stray keystroke in an unprotected pricing column or an accidental order for four loose greeting cards can wipe out the margin on a small wholesale shipment. Express order quantities strictly as individual units, and let the case-pack column govern permitted increments.
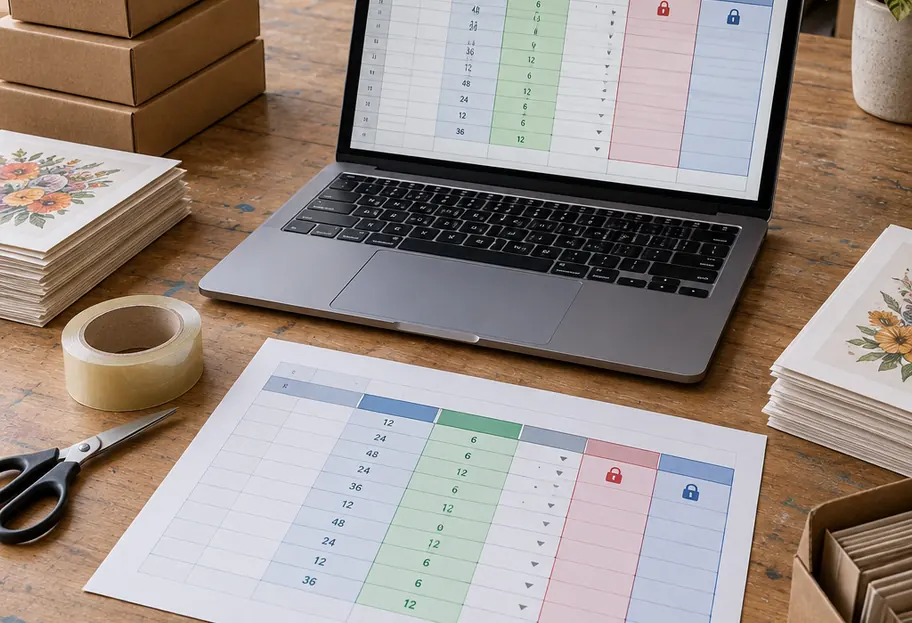
Label column G Order quantity — units so buyers never confuse individual pieces with number of packs. In column F, enter the required unit increment for each product type: set F13:F16 to 6 for four greeting-card designs, and set F17:F18 to 3 for two art-print designs.
Enforcing Multiples with Data Validation
Highlight the buyer input range G13:G112 and apply a custom data-validation formula:
=OR(G13="",AND(ISNUMBER(G13),G13>=0,G13=INT(G13),MOD(G13,MAX(1,$F13))=0))Configure the validation rule to reject invalid input outright rather than displaying a passive warning icon. That six-pack fault line ensures that typing 4 on row 13 for GC-014 triggers an immediate rejection dialog before an invalid card quantity ever reaches your packing bench.
Line Subtotals and the Opening Minimum Indicator
In cell H13, write the line-item subtotal formula so blank rows remain clean until a buyer types a quantity:
=IF(G13="","",D13*G13)Fill that formula down through H112. Move up to the header summary block to wire the master order threshold. Place your opening-order minimum of 150 in cell F5, and enter the merchandise total formula in cell H5:
=SUM(H13:H112)Note beside cell H5 that this threshold covers merchandise before shipping and tax. Apply two conditional formatting rules to H5: fill the cell red when =$H$5<$F$5, and turn the box green when =$H$5>=$F$5.
Locking the Grid Against Stray Edits
Before turning on worksheet protection, select G13:G112 along with the retailer contact cells in rows 1 through 11, open cell formatting, and uncheck the Locked property. Leave all SKU codes, descriptions, wholesale prices, pack sizes, and subtotal formulas locked, then enable sheet protection.
Inspect Pasted Order Quantities: Spreadsheet validation and cell locks act as front-end editing guards, yet pasting ranges from another workbook can sometimes bypass a validation rule. Always scan the returned quantity column against your case-pack increments before accepting an order.
Placing Payment Terms, Lead Times, and Tax IDs Above the Fold
Early paper-goods catalogs ran on carbon-copy pads where a sales rep hand-wrote terms across the top ledger before sketching a single tally mark below. That top-down visual logic still governs a well-built wholesale spreadsheet: when payment rules, tax documentation, and dispatch timelines sit in rows 1 through 11, the retailer sees the full commitment before choosing a single SKU.
Dedicate the left side of rows 1 through 11 to retailer intake fields: store name, buyer name, buyer email, billing address, shipping address, and state tax-ID or resale-certificate details. Ask the buyer to submit the required resale certificate document alongside the order rather than treating a typed ID string alone as proof of tax exemption; you can verify resale certificate requirements by state when setting up your studio's onboarding folder.
Place your studio's billing and fulfillment rules on the right side of the header block using direct, unambiguous language:
- Opening orders: Prepaid by invoice link; production or packing begins after payment.
- Established stockists: Net 30 by prior approval; payment due 30 calendar days from invoice date.
- Dispatch windows: State 3–5 business days after cleared payment for stocked goods, and 7–10 business days during a stated peak period. Publish those ranges only after verifying your studio's real packing capacity, and state clearly that dispatch time is separate from carrier transit time.
Heavy paper shipments stack up weight fast once you factor in rigid mailers, backing boards, protective sleeves, and double-walled outer cartons. Add a dedicated field in the header labeled Shipping estimate — not included in merchandise total. State right beneath it that final shipping charges are calculated from the packed parcel's actual dimensions, weight, and destination zip code, and will appear on the formal invoice for buyer approval prior to payment. That single clause stops a ballpark shipping guess from quietly eating your studio's profit margin.
Running a Dry-Run Order Before You Email a Single Boutique Buyer
Open a fresh, protected copy of your finished spreadsheet and sit in the gift-shop buyer's chair. We will run a concrete test order across four designs of A2 greeting cards (measuring 4.25 × 5.5 inches folded, priced at $3 wholesale in case packs of 6 in cells F13:F16) and two styles of 8 × 10-inch art prints (priced at $10 wholesale in case packs of 3 in cells F17:F18), tested against the $150 opening order minimum in cell F5.
- Trigger the validation lock: Click into cell
G13on the first card row (GC-014) and type4. Press Enter. Your custom data validation blocks the entry and pops up the rejection alert: Enter units in multiples of 6. - Enter valid initial quantities: Replace the rejected entry in
G13with6, then type6intoG14,G15, andG16. Move down to the art-print rows and type3intoG17andG18. - Check the subtotals against the red alert: Verify that column H shows four card line subtotals of $18 each and two art-print line subtotals of $30 each. Cell
H5sums those rows to $132. Because $132 sits below the $150 minimum inF5, cellH5stays shaded red. - Cross the green-box boundary: Change
G13from6to12. Row 13's subtotal jumps to $36, bringing the total order to 30 greeting cards and 6 art prints. CellH5hits exactly $150 and flips from red to green. Keep in mind what this green-box boundary represents: moving from $132 to $150 clears the merchandise minimum, while payment approval, resale tax documentation, final shipping confirmation, and stock allocation still happen during invoicing. - Test cell protection and file persistence: Try typing a different number directly over the $3 wholesale price in
D13or the $36 formula inH13; worksheet protection blocks both attempts. Fill in dummy retailer contact details in rows 1 through 11, save the workbook, close it completely, and reopen it to verify that the $150 total and header entries remain intact. - Export the PDF backup: Set the sheet's print area to cover the retailer header, terms, ordered product rows, and totals. Export a PDF copy as an order-summary backup clearly stamped Shipping and tax pending, keeping the formal invoice separate until parcel weight is calculated.
Once the dry run passes, clear the test buyer details and unit quantities from your distribution file, confirm that cell H5 returns to $0, test the lookbook hyperlink in the header, verify that sheet protection is still active, and click your actual outbound email attachment or cloud download link to confirm that every boutique buyer receives a clean, individual copy rather than editing your studio's master template.














Join the Conversation
Nothing here yet. Add your opinion.
Add Your Thoughts