
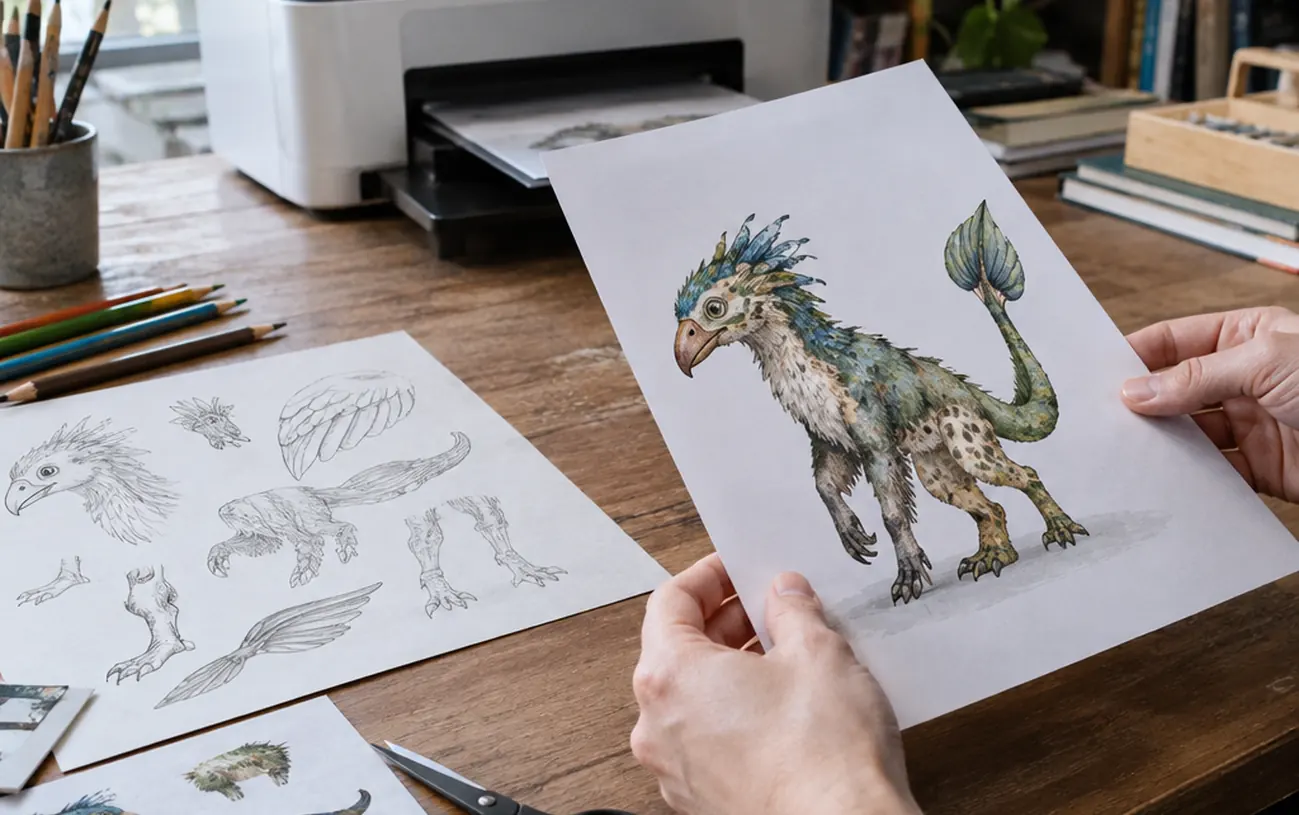
In 1920s Paris, Surrealists folded a sheet of paper into thirds and passed it around the table. Each player drew a section without seeing the others, and the unfolded result was a stitched-together figure nobody designed on purpose. Today, that same arithmetic makes a mix-and-match printable worth the afternoon it takes to build: twenty-seven creatures out of nine drawings for a one-off piece. But a gorgeous dinosaur head is useless if it floats pushing half an inch above the astronaut suit it is supposed to sit on. The process requires concept, sketching, coordinates, page layout, and the cut-and-test pass that catches everything the screen hides.
In this Article
- From Exquisite Corpse to the Kitchen-Table Printable
- Nine Silhouettes Drawn Against One Body Template
- Locking the Neck and Waist to Fixed Coordinates
- Letter, A4, and the Quarter-Inch That Saves Your Cut Lines
- Cutting Up Your Own Draft Before Anyone Else Does
From Exquisite Corpse to the Kitchen-Table Printable
The Surrealist game got the name Exquisite Corpse, and it established the whole premise: independently made images can combine into something coherent if the seams line up.
Children's publishing turned that chaos into a product. Vintage split-page flip books sliced a bound page horizontally so a reader could flip a lion's head onto a ballerina's legs. The binding did the alignment work. A printable has no binding, so the designer has to do it.
A mix-and-match printable succeeds or fails on two things: standardized connection points and printer-friendly margins. Everything else is decoration. Plan the set before drawing a single creature, because retrofitting a neck position across nine finished illustrations is miserable work.
A minimum viable set is three heads, three torsos, and three lower bodies. Three times three times three gives 27 combinations, which is enough replay value that a kid will come back to it after lunch. Spend roughly five to ten minutes up front listing the nine parts and deciding where the shared neck and waist will sit.
The Nine-Part FloorFewer than nine parts and the novelty burns out in one sitting. Nine parts across three categories is the smallest set that still feels like a toy rather than a worksheet.
Nine Silhouettes Drawn Against One Body Template
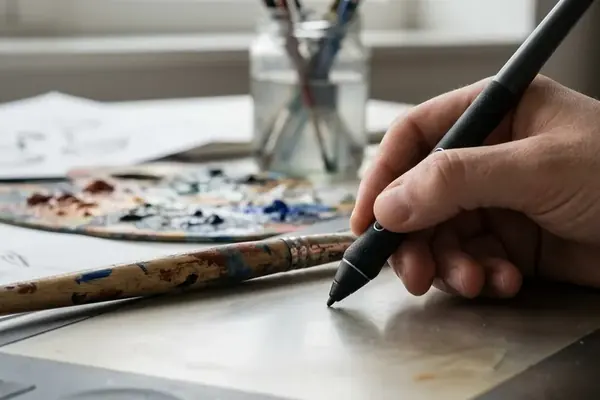
Draw the full creature once, as a plain template, before drawing any of the parts. A head oval, a torso block, a pair of legs. Lock that layer on the Wacom tablet and sketch every subsequent component on top of it, so each part inherits the same proportions by default.
Scale discipline is where beginner sets wobble. A delicate fairy wing sketched at a comfortable drawing size will read as enormous next to a bulky robot torso that was drawn on a different day. Give every part in a category the same-width bounding box, then view the bulky torso and the winged torso side by side at actual print size. On screen at 200% they both look fine; at 100% one of them is suddenly a different species of scale.
Silhouette drives recognition. Kids identify characters by outer shape long before they read detail, a principle visible in the character design of long-running educational organizations such as Sesame Workshop, where each puppet reads instantly as a shape. Push each head toward a distinct outline: one round, one angular, one with a long snout. Mixed creatures then look deliberately quirky instead of muddy.
Accessories follow their body part. Hats travel with heads, wings with torsos, tails with whichever section they sprout from, and each one stays fully inside its part's bounding box. A top hat that pokes past the box will overlap the neighbouring piece once the set is assembled. Budget roughly 15 to 25 minutes for the first pass at all nine silhouettes.
Locking the Neck and Waist to Fixed Coordinates
Build a master grid for the assembled creature first, then copy its coordinates into every part template. On an 8.5 by 11-inch master canvas, a workable arrangement during studio practice puts the centerline at X = 4.25 inches, the neck junction at Y = 3.25 inches, and the waist junction at Y = 6.25 inches. Every matching edge meets its junction at that same coordinate, no exceptions.
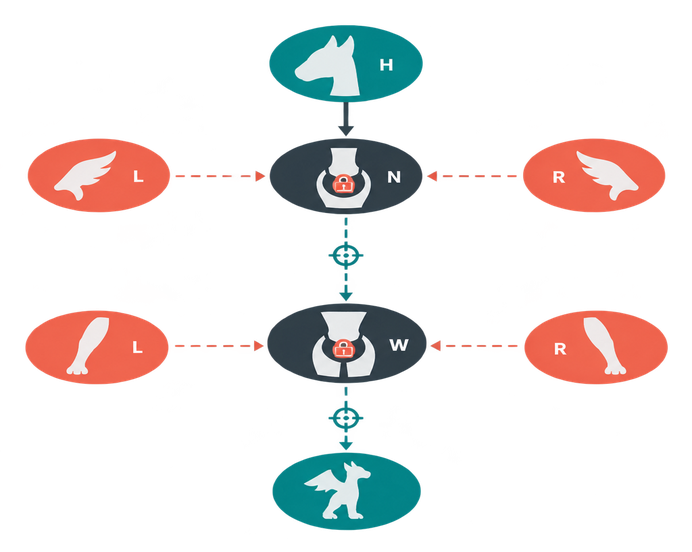
During drafting, drop small crosshairs just outside the artwork at each junction. Overlay a dinosaur head onto an astronaut torso and check the marks, not the vibe. The two pieces must meet at the identical neck crosshair, not merely look aligned while sitting on separate pages. Where a gap appears, nudge the part, not the grid. Allow 10 to 15 minutes to overlay and inspect all head-to-torso and torso-to-lower-body pairings, then pull the crosshairs off the final cutouts before export.
Two Junctions, No MoreCutouts printed on standard 20 lb home printer paper tear at narrow attachment points. Keep the play structure to the neck and waist, or three primary nodes at the absolute outside. This is a drafting default drawn from ordinary home inkjet output rather than controlled testing, so heavier cardstock gives you more latitude.
Letter, A4, and the Quarter-Inch That Saves Your Cut Lines
With the parts fitting the master grid, the job shifts to packing them onto pages without waste. Both common canvases work, and the difference is only in what the safe zone leaves you.
- US Letter (8.5 by 11 in): a 0.25-inch inset on every side leaves an 8 by 10.5-inch artwork area.
- A4: the equivalent 6.5 mm inset leaves 195 by 285 mm.
That inset is the guaranteed safe zone. Home inkjet and laser printers have unprintable margins they will not negotiate over, and the first casualty is always a cut line running too close to the edge. Keep vital artwork, dashed cut paths, and any written instructions inside the inset.
Rotate pieces to tighten the packing only when their cut lines and assembly cues stay readable in the new orientation. A sideways tail is fine; sideways instruction text is not.
Outline weight decides how cuttable the set is. Start at roughly 1 to 1.5 pt, dark, and then inspect the printed draft rather than the monitor. Plenty of families print in grayscale to save ink, so contrast has to survive the loss of colour: a pale lavender wing with a thin outline disappears into the page. Figure on 10 to 20 minutes for placement and print settings.
Grayscale Before ColourRun the draft in grayscale before committing to fills and decorative palettes. Anything that vanishes in grayscale needs a heavier outline, not a brighter colour.
Cutting Up Your Own Draft Before Anyone Else Does
Put a tiny assembly key directly on the printable, in the corner, inside the safe zone. Two symbols carry the whole system: dashed lines mean cut, solid dots mean glue here or punch a brad through. Kids parse that in seconds, and it saves an adult from reading a paragraph aloud.
Then do the physical test. Print the draft in grayscale, cut out all nine parts with ordinary scissors, and join them in mixed combinations. Test all nine head-to-torso pairings and all nine torso-to-lower-body pairings; those 18 junction checks cover every one of the 27 possible three-part creatures. Set aside 15 to 30 minutes depending on how many accessories and fiddly outlines the set carries.
Watch for three specific failures: a visible gap at a junction, an accessory overlapping the neighbouring piece, and a corner too tight for a child's scissors. Fix each one in the source file, not with tape.
So: open the file, send page one to the printer in grayscale, and cut the first head, torso, and lower body out by hand tonight. Snap them together, swap the head for the next one, and keep going until all 18 junctions have met. Whatever gaps show up in that pile of paper scraps are the only notes worth acting on before the set goes out.








Join the Conversation
Nothing here yet. Add your opinion.
Add Your Thoughts